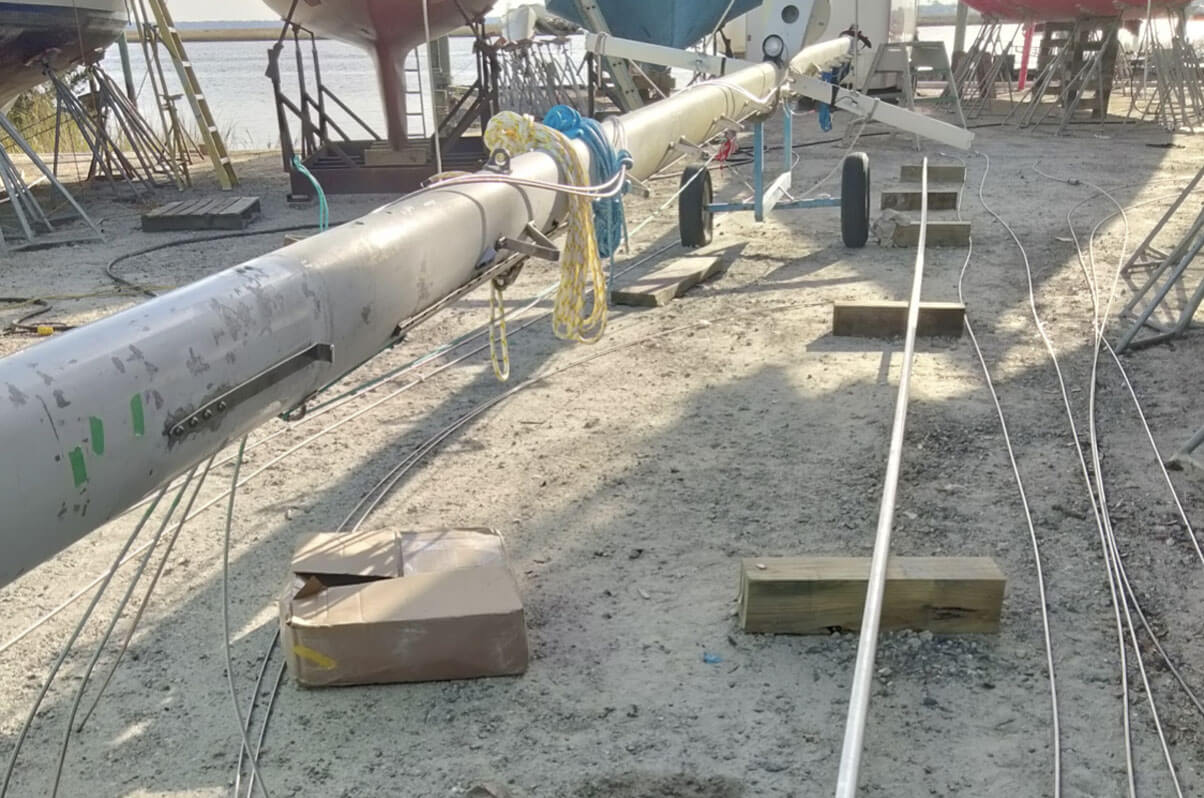
Being new owners of a 40 year old boat with original rod rigging meant we had to seriously consider a re-rig sooner rather than later. For us tackling a re-rig seemed like a little too much to manage on our own. Many sailors will hire a qualified professional rigger to do the job or help them with the job. As I am not a qualified rigger I didn’t feel confident completing the job by myself. Unfortunately after our experience I will never try and hire one again. I would like to share some of the experience we had while working with a rigger and in the end re-rigging the vessel ourselves.
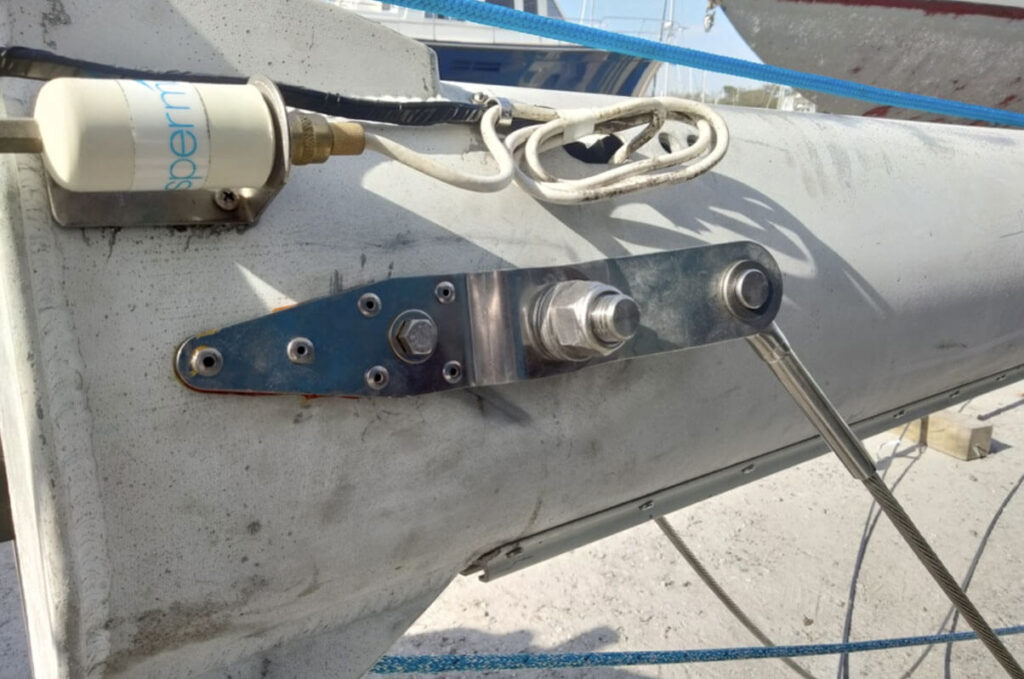
Our new to us 1983 C&C Landfall 43 with original rod rigging had original first generation Navtec tangs. Tangs are the part that connects the rigging to the mast. These tangs can often be reused if they are in good shape but in our case they needed to be removed as this first generation was prone to failure which could have your whole rig fail. These tangs had an aluminum threaded rod that goes through the mast to support the outer stainless parts that hold the rod in place. The rod can get chewed through from the stainless wire halyards running inside the mast. This jams halyards and at its worst can have your tangs and rigging fail completely. Navtec later fixed this issue by replacing the aluminum with stainless and adjusting their design.
Our first big decision to make was whether or not to stick with rod or make the switch to wire or even synthetic rigging. Rigging type seems to be one of those topics that can feel much like talking about political views when digging for answers on forums. Normally it is easiest to stick with what you already have. Replacing rod with rod and wire with wire keeps attachment points the same and can allow you to reuse parts like tangs or maybe even turnbuckles if they are in good shape. In our case we were replacing everything as the rig was so old and we knew the tangs were a potential failure point. Since we were already replacing these components we were not going to save money by sticking with rod. We planned to cruise our vessel in places that may not have a local rigger who can handle re- heading rod rigging. Rod rigging needs special equipment to cold press the ends of the rod into a mushroom shape that can then attach to the tangs and turnbuckles. Rod rigging can be re-headed multiple times before the rod needs to be replaced which typically extends its life beyond wire. Wire on the other hand is easily accessible globally and with mechanical fittings we can even repair our rigging ourselves if we have trouble with a shroud down the road. Wire also gives more signs before it is going to fail. A strand of wire may break or a rusty candy cane effect gives you early warning that it’s time to re-rig. Rod by comparison tends to fail without much warning and inspection is difficult as the rod heads are often not accessible and tend to be the failure point.
With this in mind and after quite a lot of thought and debate we decided to make the swap from rod to wire. We even found a rigger who we were very happy to have as we were quite nervous about completing the project ourselves. This turned out to be a nightmare but more on that soon.
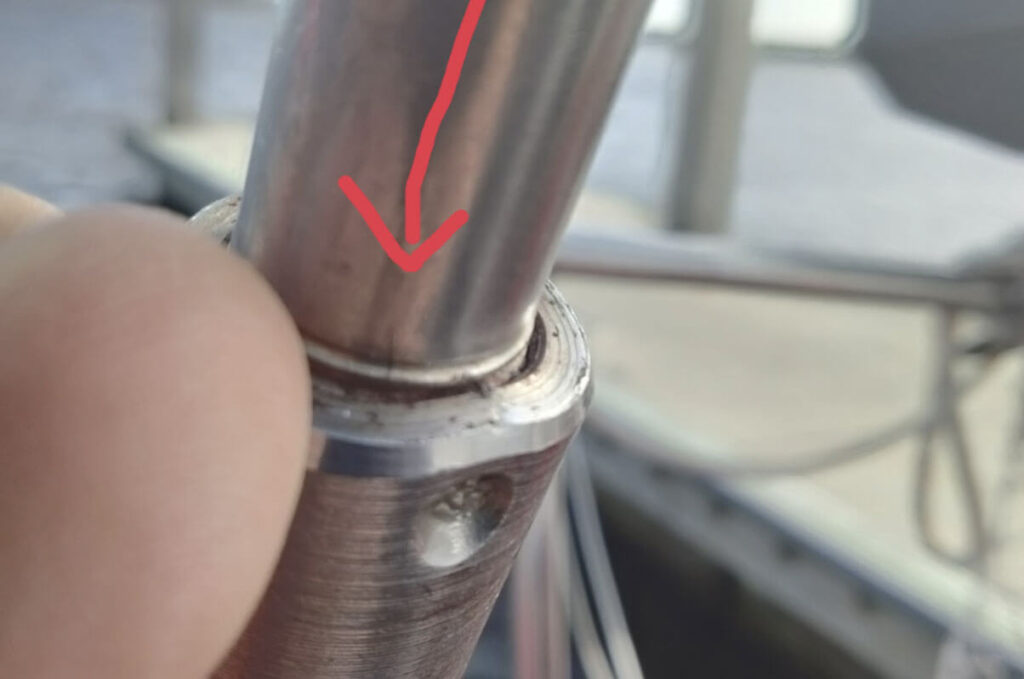
After multiple rig inspections on our way south from Canada to the Bahamas we had hoped to continue cruising with the rig we had. Everything looked good no signs of problems aside from the age of the rig. We were about to make the jump from Florida to the Bahamas when luckily we found a tiny crack in our backstay. Barely visible with our eyes but still this had us very nervous about our rig and made us turn around and put a pause on our trip to make sure we had a rig we could trust. After cruising our first season without an engine we realized just how important it is to have a rig you can trust. I would much rather sail without an engine than have to motor without sails.
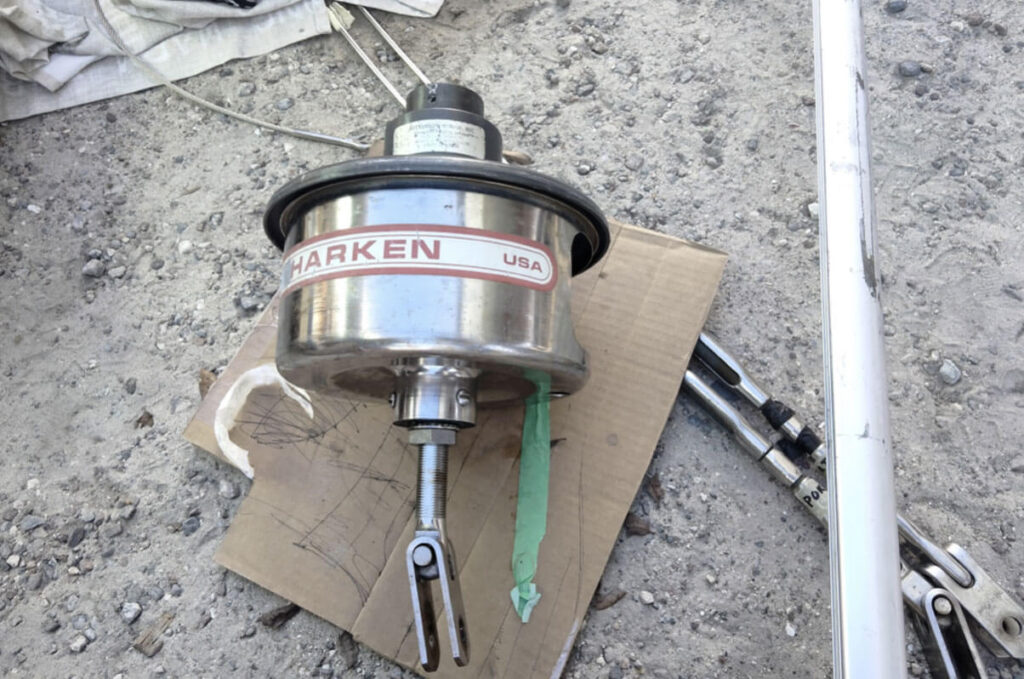
So we made our way to a marina that could unstep our mast without a haul out that also had a local rigger who could help us do the job. Unfortunately we learned that not all riggers are professionals and some can even be downright crooked. After a terrible experience with one we decided we didn’t have time to waste trying to track down another as we were already later than we hopped to depart. This meant we had to start from scratch, measuring everything again, ordering countless parts including a used furler drum to match our old one that went “missing”, all the hardware to make the swap from our old tangs to new while still reusing the existing sleeved holes in the mast, plus all the hardware to make the swap from rod to wire. Also we needed all new wire, turnbuckles, staylocs, bolts, tangs, new halyards, etc. This process was much more time consuming than originally expected.
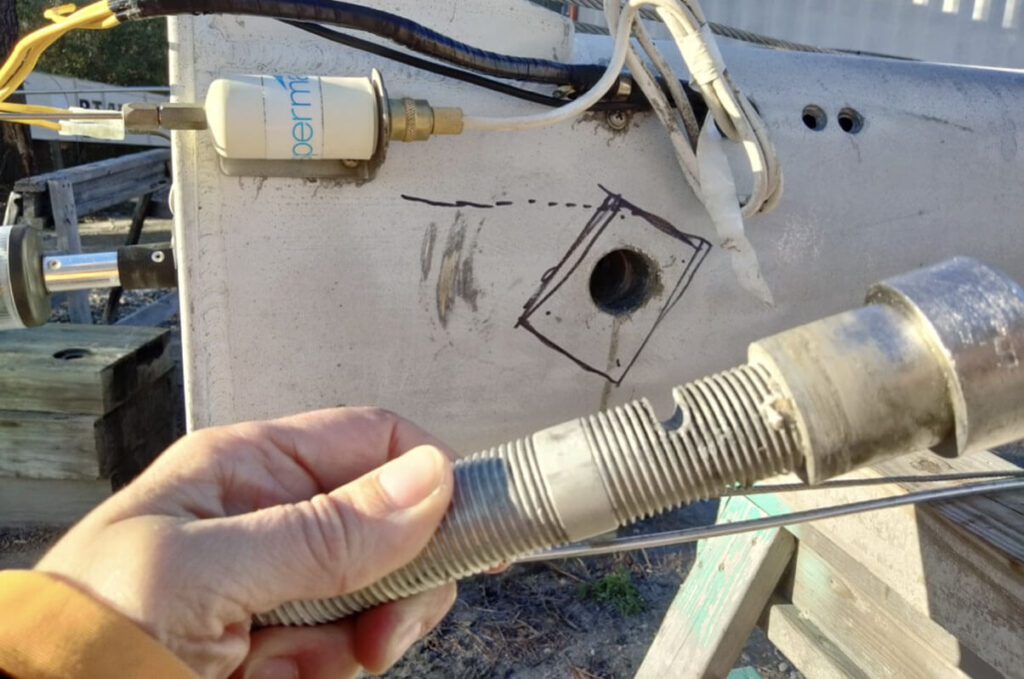
After the mast was down and we got the old tangs off we felt very fortunate that we decided to turn around and completely re-rig as the small crack we found was only the beginning of our problems. A second crack was found at the top of the backstay as well as our upper tangs were 1/3 chewed through inside the mast. Who knows how much longer before we would have lost the whole mast.
After receiving most of the parts and machining the spacers needed to install the new tangs in the old tang locations we were ready to install everything. Unfortunately we had to take an unconventional approach to getting our mast back on the boat. As the rigger cut and lost our old tangs all of our measurements were off by an unknown amount.
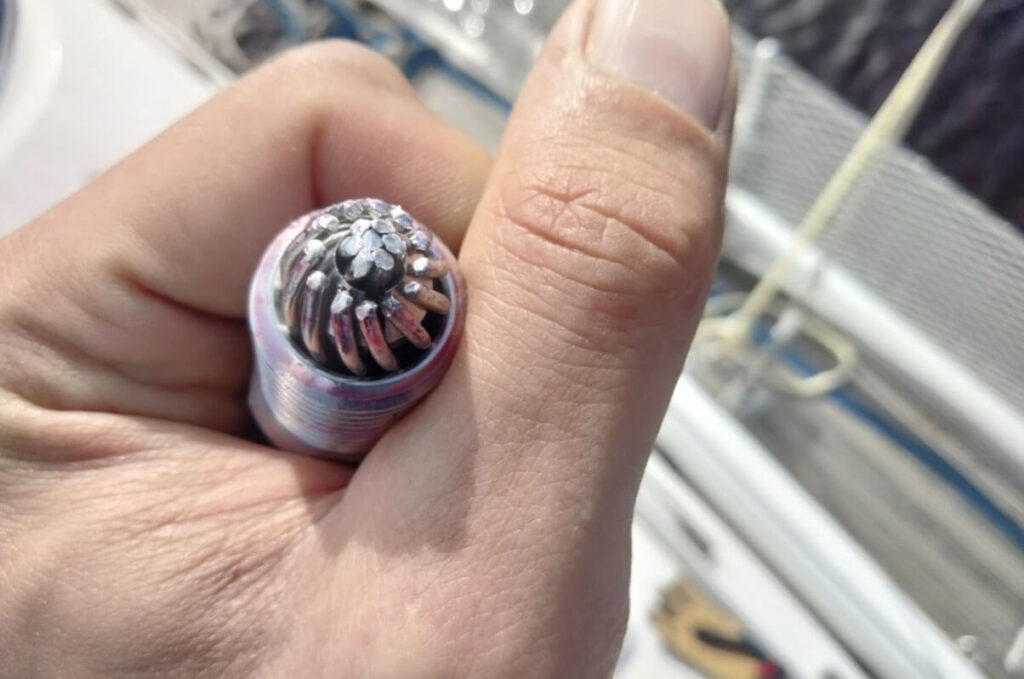
Luckily our boat is keel stepped and we knew from taking the mast down and reinstalling it during our Erie canal trip, the mast would stay in place without any shrouds connected and with halyards holding it. I was confident the mast would stay up while we did some last minute connections. So instead of cutting each wire to the measured lengths and installing the staylocs and turnbuckles we left the extra 1 to 2 feet of wire without cutting it to size. This allowed us to cut our shrouds and stays on site with the mast in place. Luckily we did as most of the measurements would have been too short to make it to the chainplates with the turnbuckles open. This came with its own set of challenges and made it less than ideal as our turnbuckles and wire lengths are not even from one side to the other but it saved us from having to get new wire or add toggles. Now we have a rig we can trust and despite having more weight switching from rod to wire she sails just as well as before with the peace of mind that we can trust our rigging again.
As with many boat projects, when you first dig into a project the learning curve is steep. This project was well out of our comfort zone and had us questioning if we could complete it every step of the way. We learned so much more than expected and I can only fit so many in this short article. One big lesson was we are capable of so much more than we think. With enough effort even a big project as overwhelming as this can be tackled and completed. For us hiring someone has normally been out of reach due to budget but we now have a strict no contractor policy onboard. However if you would like to hire someone I would recommend getting more than a handful of references before committing to anything. Asking around your marina and listening to the good and the bad experiences of others might save you a lot of time and money in the long run. If you do decide on a contractor make sure to keep correspondence in writing so everyone stays on the same page. As with all boat projects do not underestimate just how long a project like this can take. With delays due to the rigger, waiting for parts, and fabricating parts ourselves we took a total of 6 weeks to complete this project. We were hoping for a turn around of 2 to 3 weeks. In the end despite all the struggles we had with this project I am very happy with the end result and feel less overwhelmed by the complexity of a project like this. The knowledge that I can fix one more aspect of our vessel gives me pride and confidence to go further and push the vessel harder.
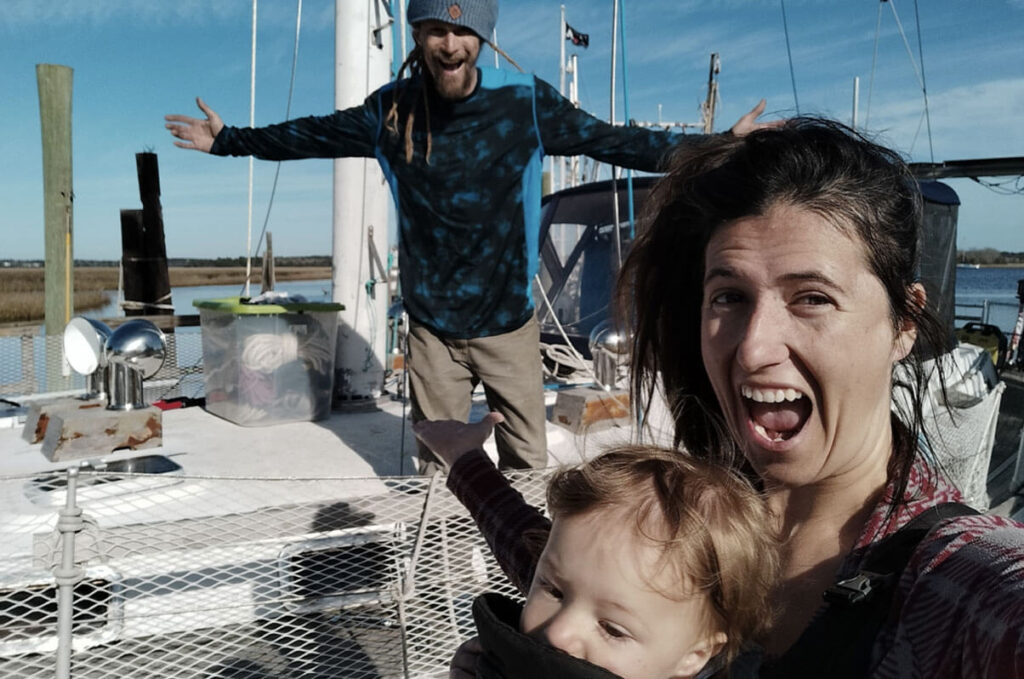
Cory Bertrand
Cory and Alex share their adventure with weekly videos on their YouTube channel “Wildly Intrepid Sailing” and share stories on their website www.wildlyintrepid.com . Their dream is to travel the world and to live without any regrets.
