
It is easy to become overwhelmed and discouraged when tackling a project that is new to you. Before you even get started you might find yourself making excuses to put off that next itchy project. Working with resin requires a little planning and knowledge but anyone is capable of taking on their own diy project. While doing some rather extensive maintenance to our vessel this year I picked up a few more tricks and tips when working with resins.
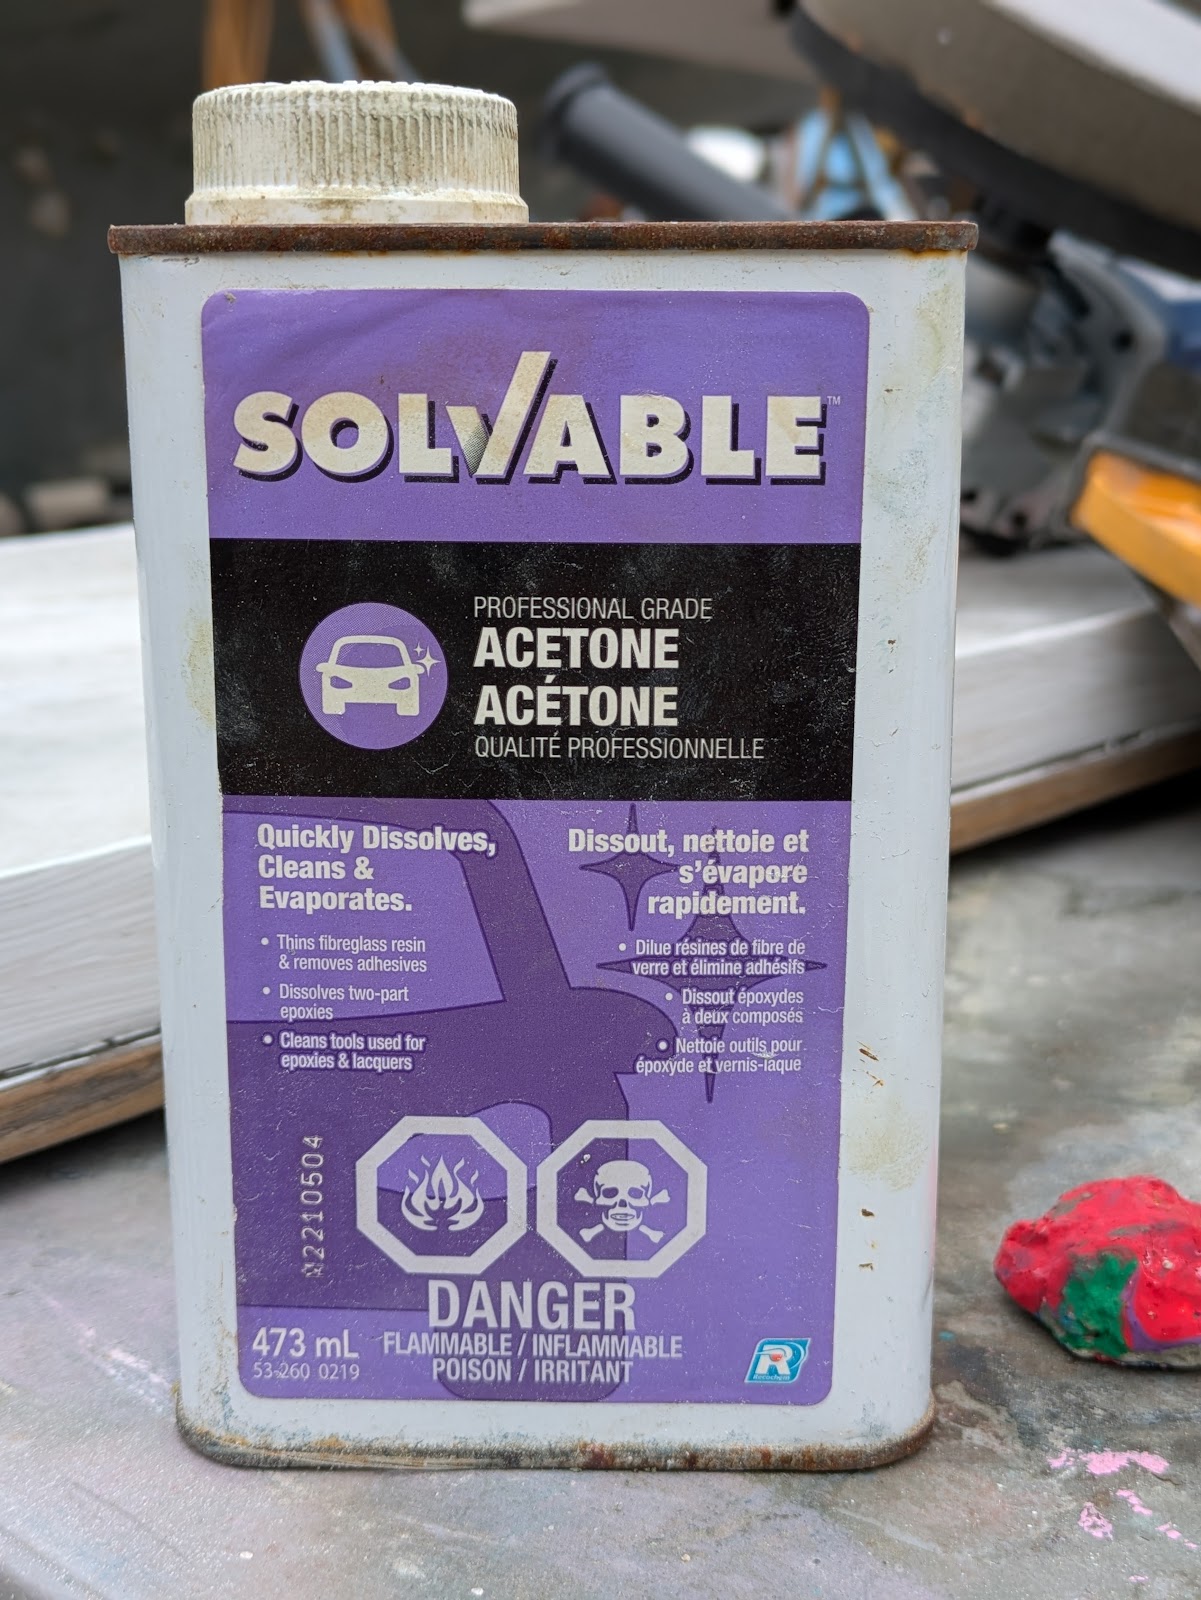
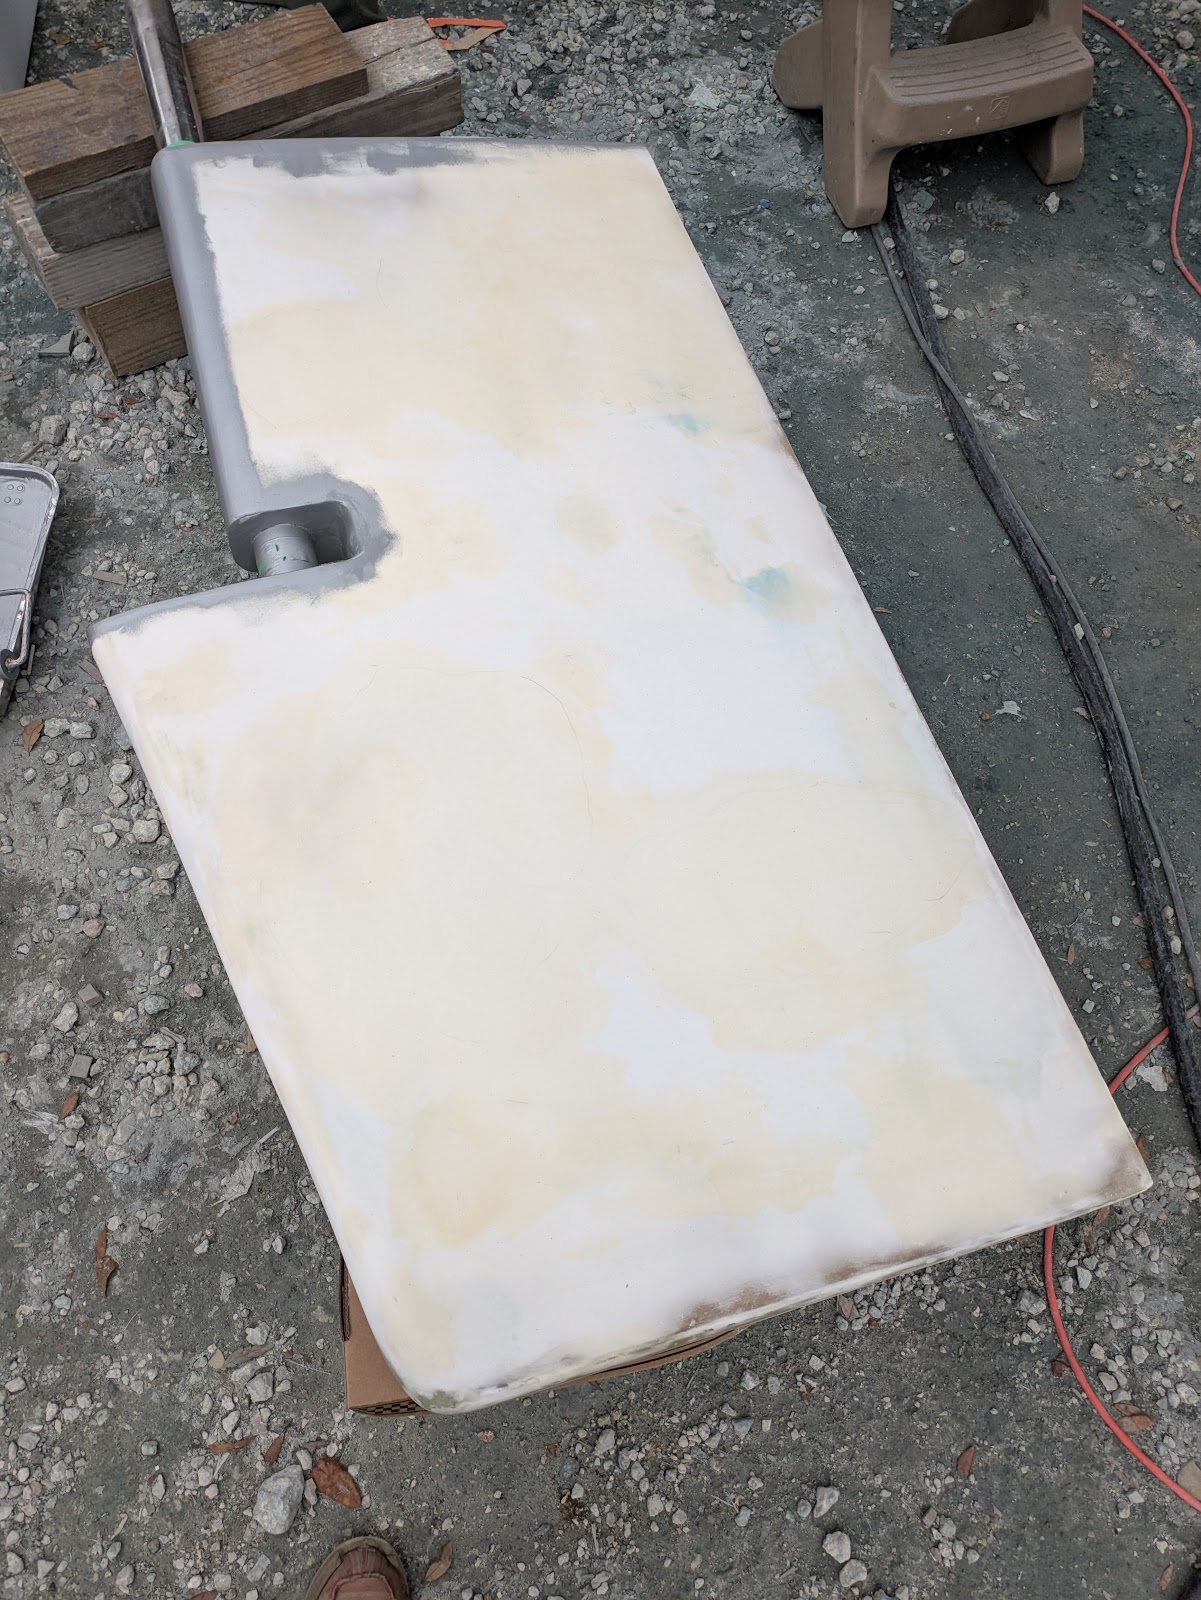
First off, prep is your best friend when working with resin. After you have sanded and removed any damaged glass and voids you want to taper your repair so you have no hard edges. Generally the rule of thumb is you should have a ratio of 12:1 or so of a tapper. So if your repair is ¼ inch at its deepest, your repair should radiate out 3 inches from your deepest spot. A clean dry surface is needed for a strong repair. A heat gun works great at removing moisture from the surface after a rain. Before you start, wipe down the surface with a damp rag to remove dust. Then use acetone and wipe down the area making sure your final wipe has no residue on your rag or towel. If you have a shop vac or air compressor it can help to remove stubborn dust from gaps and voids. Taping off areas you would rather not have epoxy on saves you some sanding. Tape below a fiberglass layup to help keep drips from running down.
Now your surface is prepped but before you start mixing resin get everything out you are going to need. It’s not time to dig through your supplies looking for an extra brush when your gloves are sticky with resin. Depending on your job you might want different things ready but generally you are going to need your resin or choice, mixing cups, disposable gloves, stir sticks.
Resins:
Here is a quick overview of the 3 resin types normally used.
Polyester
Almost every older boat is made up of polyester resin and it is plenty strong and the most affordable resin to work with. It’s best to use if you plan to use gelcoat.
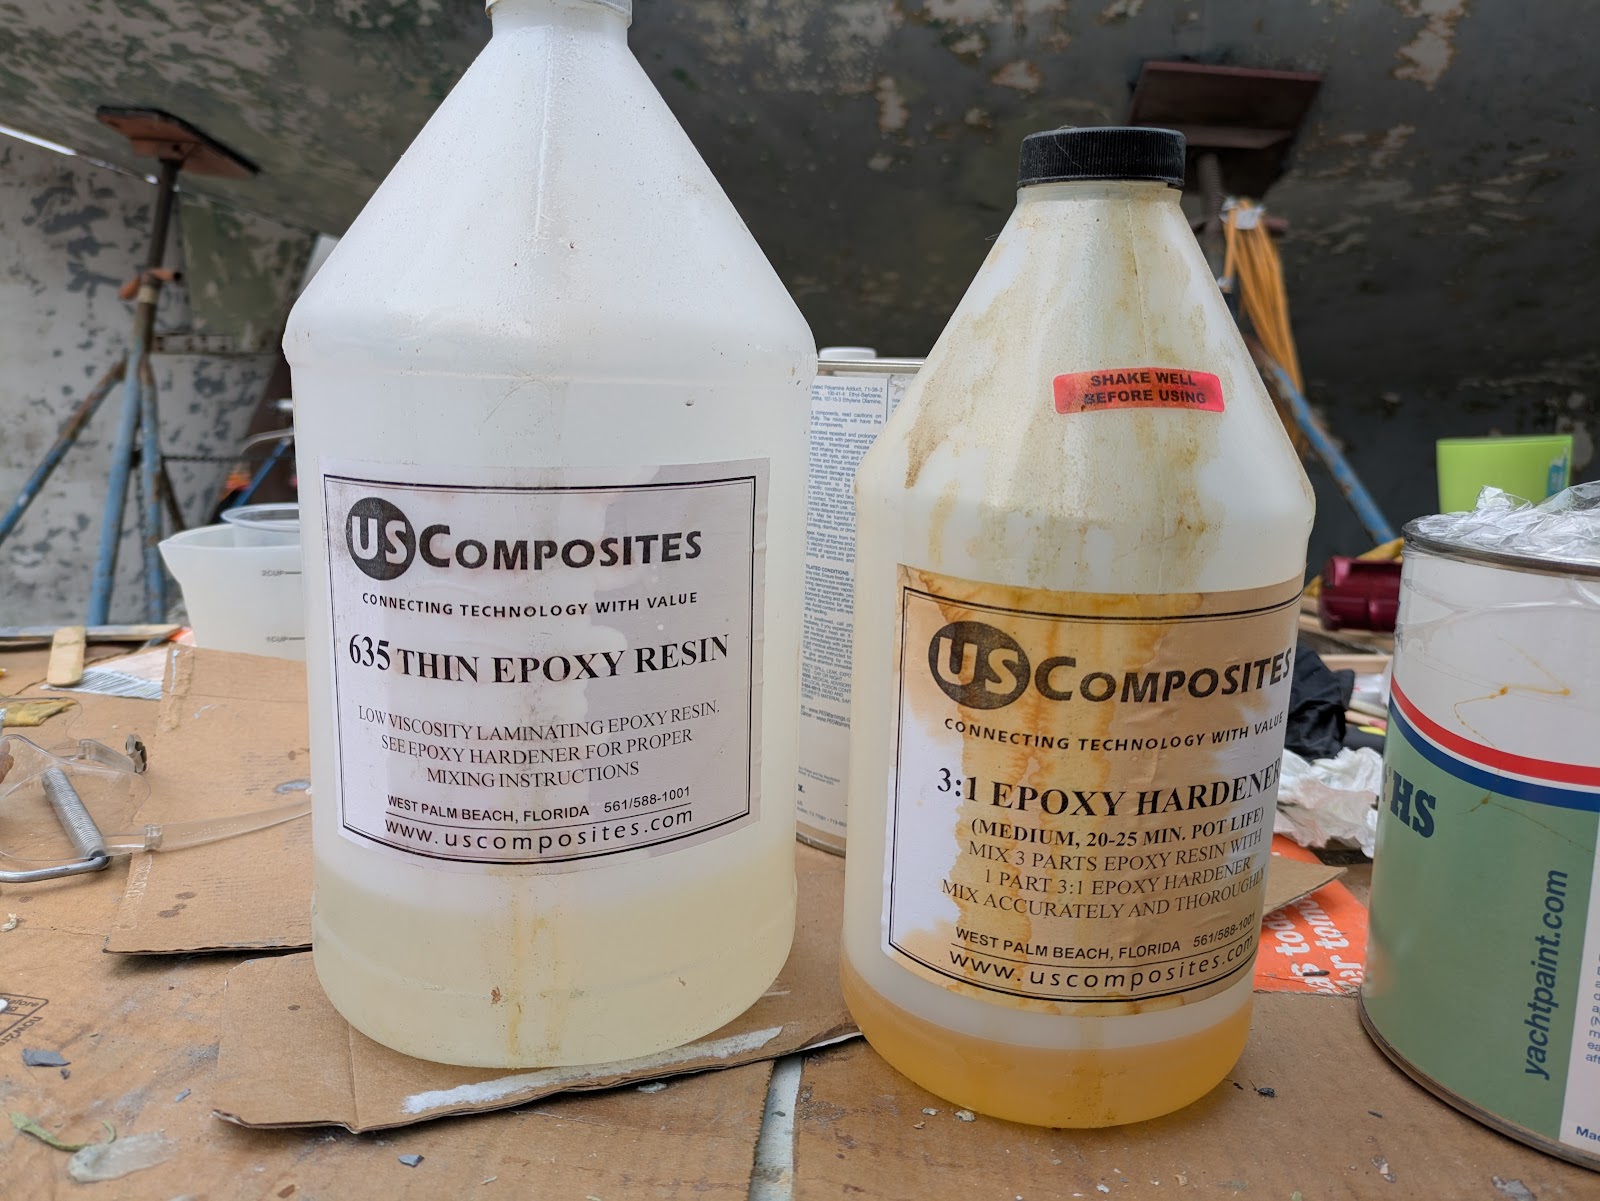
Epoxy
The best choice when making a repair but is the most expensive option.
Vinylester
Similar to polyester and almost as strong as epoxy.
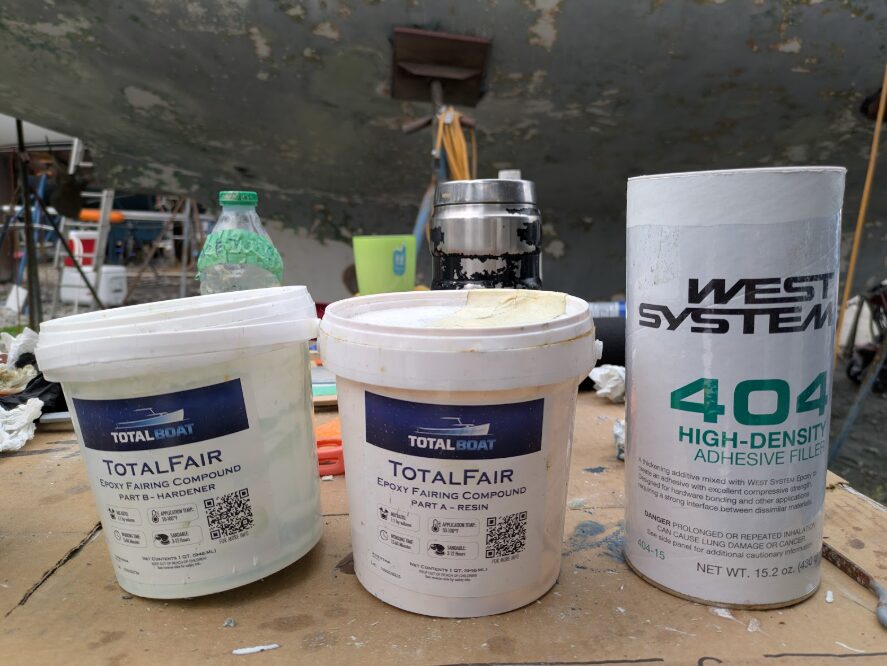
Fairing
Deeper repairs
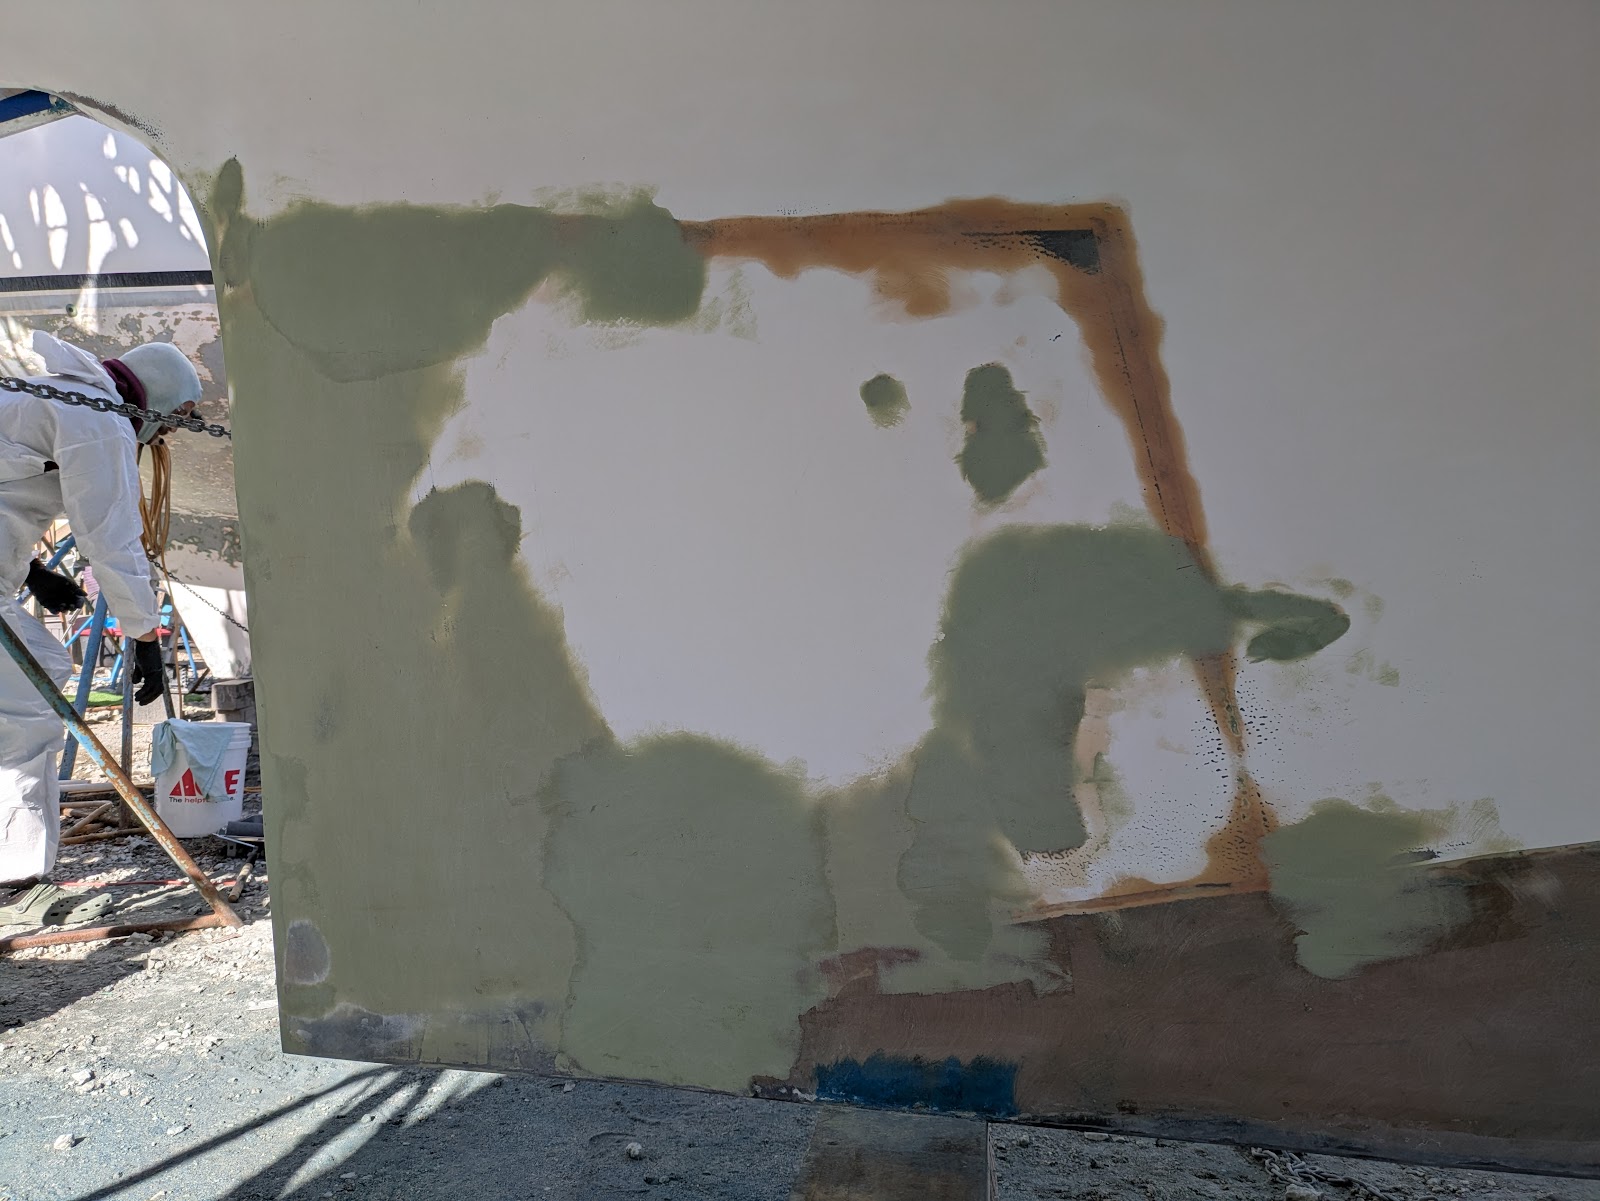
Something that sands easily like Totalfair or micro balloons (mixed in epoxy) is preferred as it makes life easier when trying to smooth it all out. A wooden board is very useful to spread out your material and give you more working time. In warm weather the thinner you can spread it the better as you have way more time to spread it over your surface before it starts to go off. A variety of plastic scrapers helps you keep working while some are full of curing resin. After it’s cured you can break it off by flexing the plastic. A large metal plaster scraper is great for smoothing out larger areas.
Make sure to put it on a little thicker than you want so when you sand the surface you hopefully won’t need a second coat. 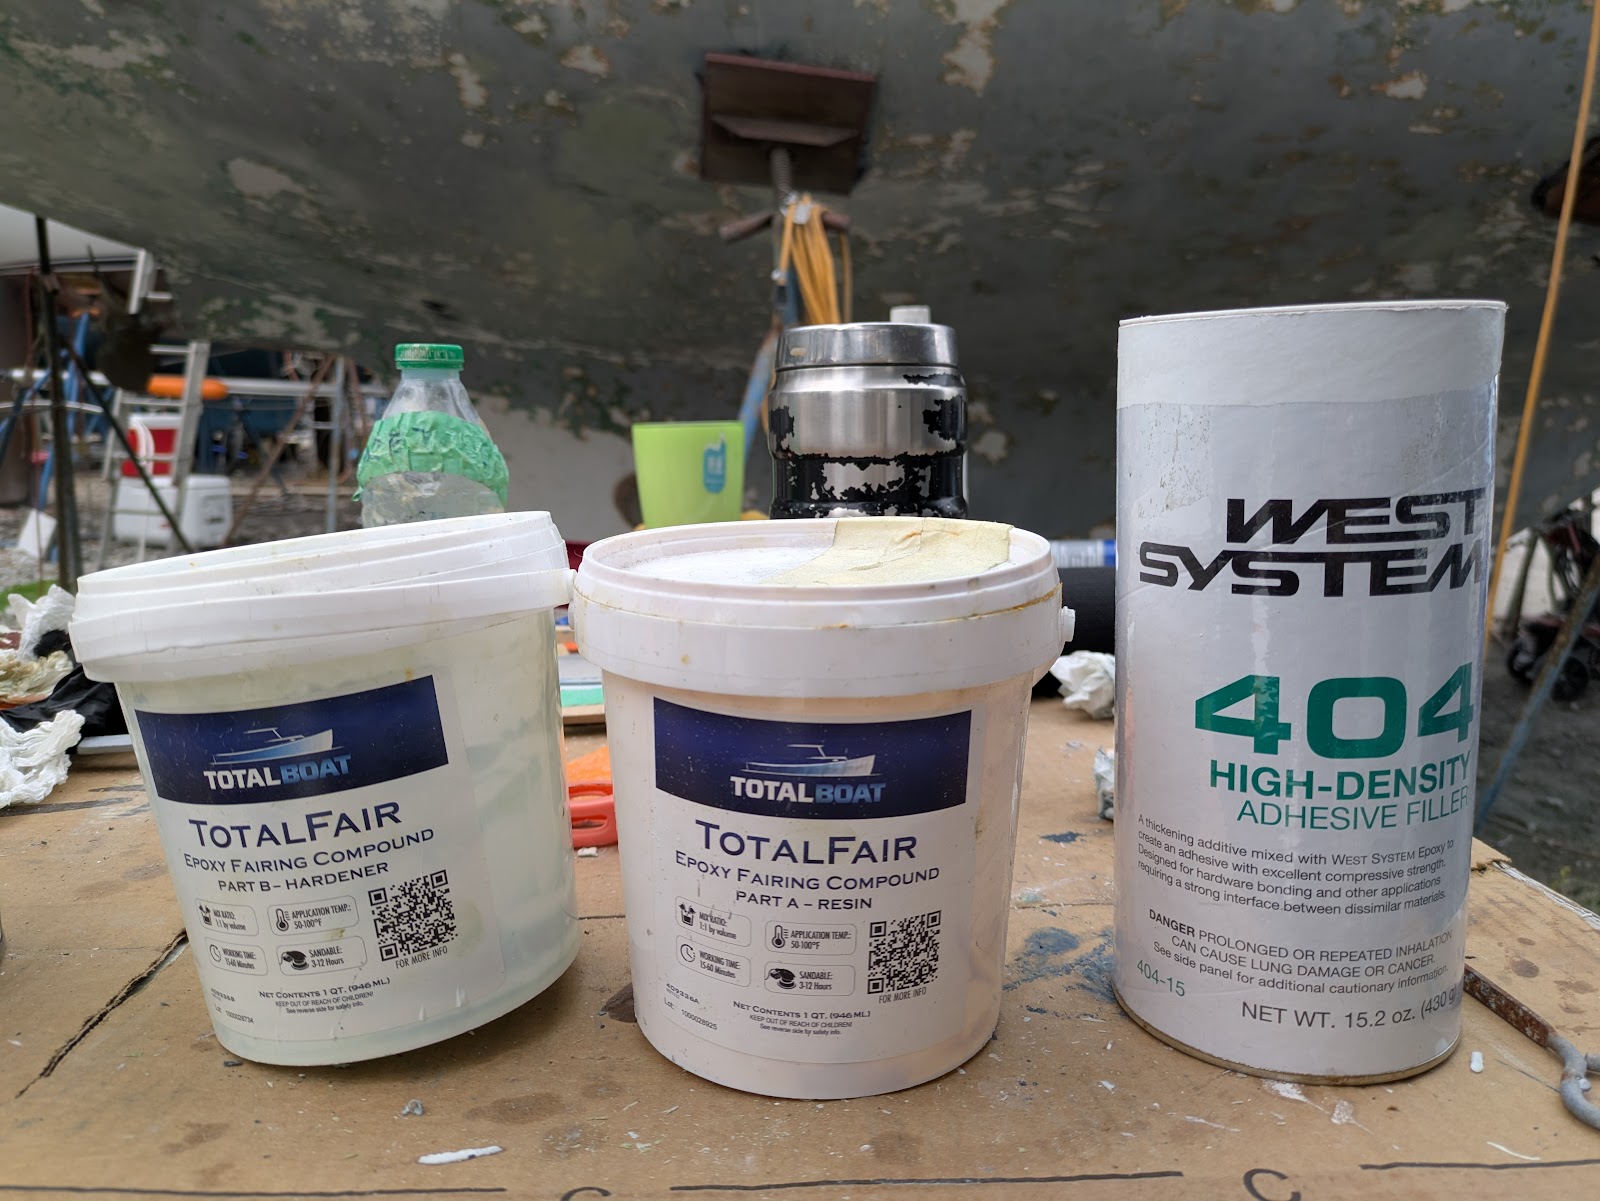
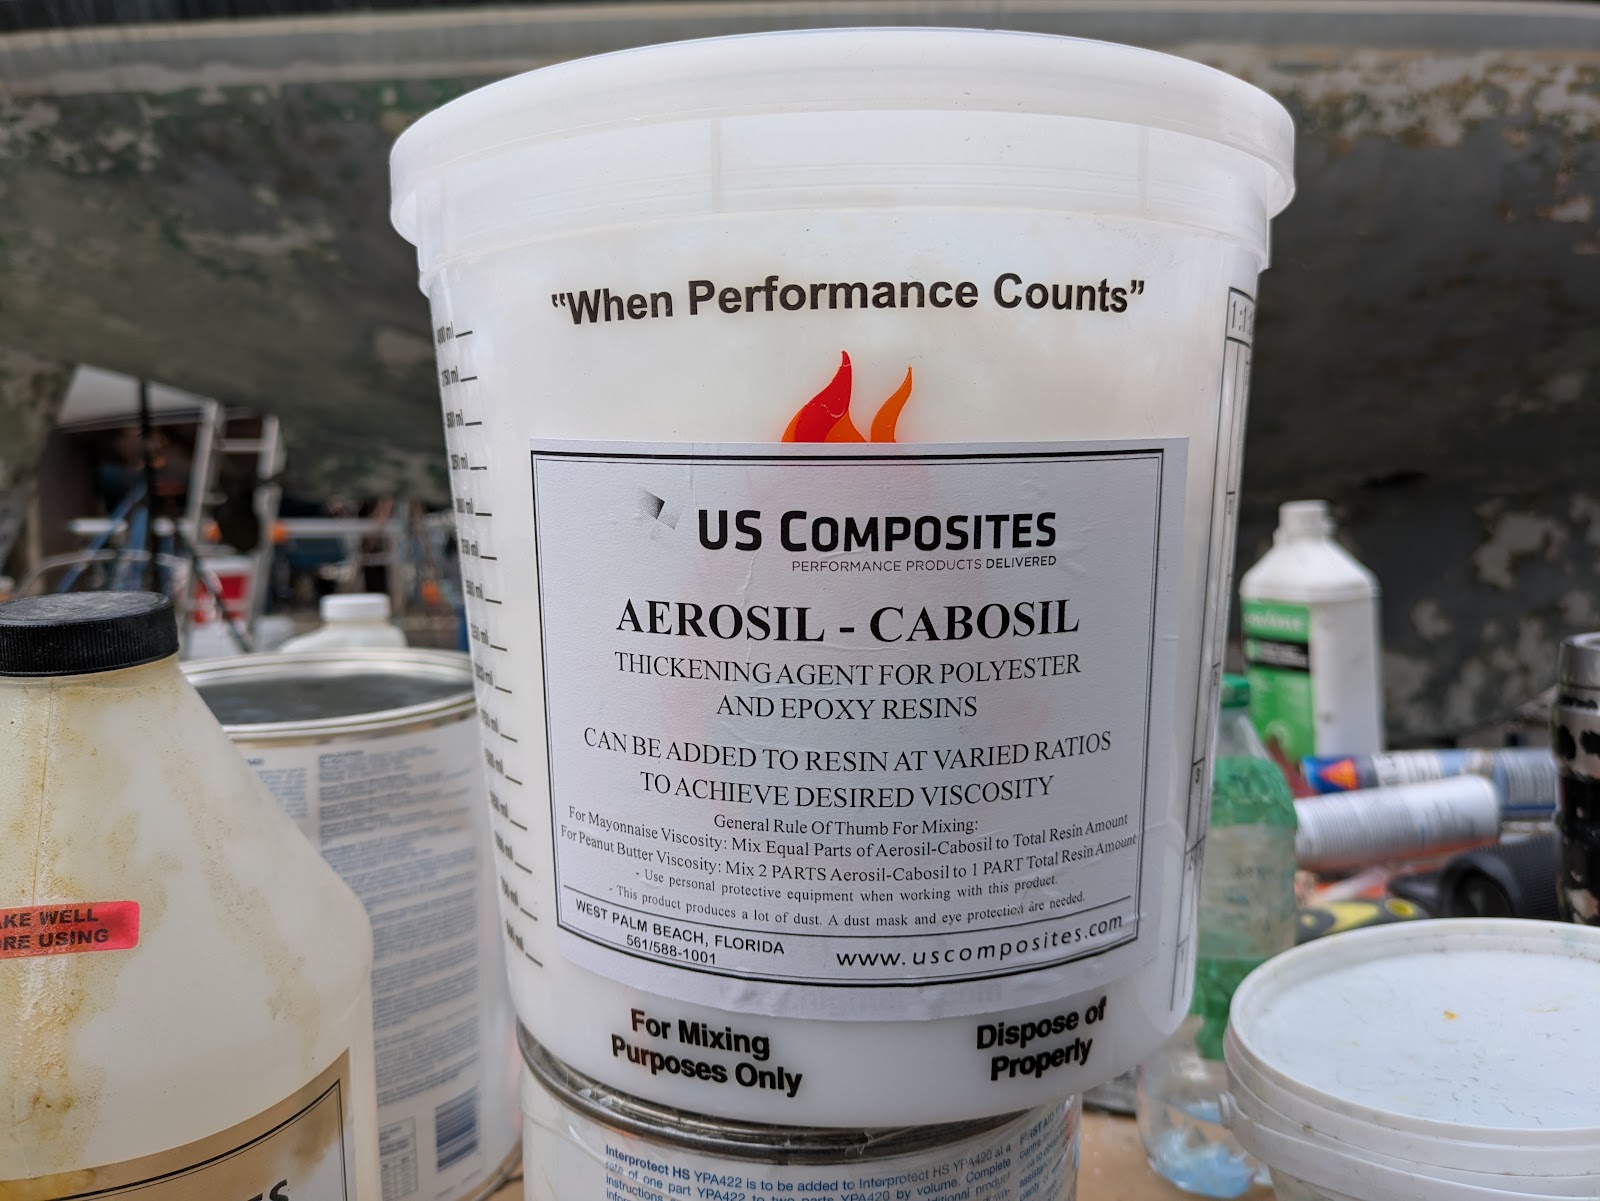
If your repair is deeper than you would want to fair (approx ⅛ to ¼ inch) then you can use a filler that is more structural. Silica is a great all around filler for this. It’s also a great glue when laying up core material. If you need a lot of strength or want to tap threads into glass then you might want a high density filler. I’ve also liked using milled fiber as another filler to add strength. Don’t be afraid to experiment with combinations of fillers to get the consistency and properties you want.
Glass layup
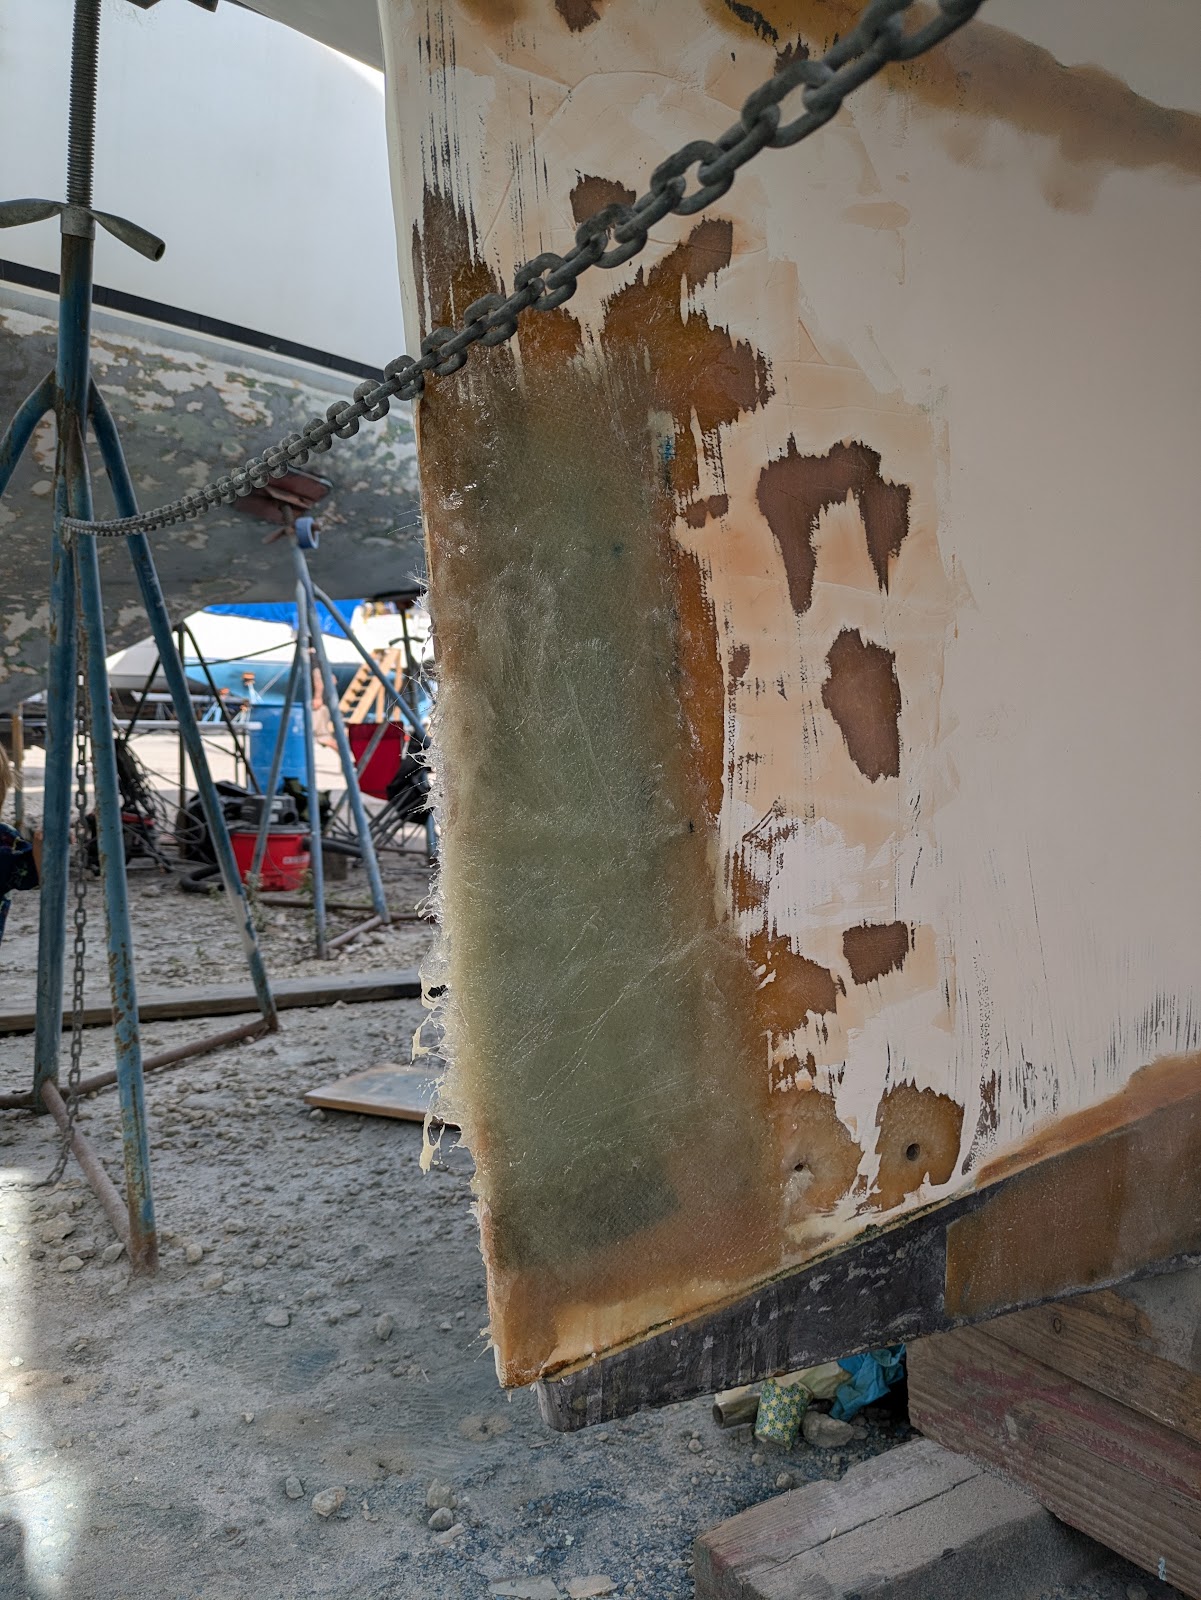
If the repair is too deep for structural fillers a layup of some glass will be required. Working with 1708 biaxial allows you to build up layers quickly. A fin roller helps remove bubbles and excess resin. A layer of resin (lightly thickened) on your repair that has started to get tacky allows for easier layup when working overhead. Laying up multiple layers on some parchment paper allows you to get out a lot of the air bubbles before laying it in place. Sometimes your hands(in gloves) are the best tools for getting the glass in place and removing most of the large air pockets. If temperatures are a little too cool and you find the glass constantly saging out of place then you can heat it up with a heat gun to speed things up. A faster hardener for epoxy or more catalyst for polyester or vinylester can allow easier working in cool temps.
A few extra tips.
Acetone
Acetone in a water bottle with a small hole in the cap lets you have acetone on hand to spray into small voids or your towel for prep without excess evaporation. Wear safety glasses. A little acetone in a 2 gallon bucket with a lid is perfect for rinsing fin rolls or keeping brushes from getting tacky between batches of resin. Use some cling wrap under the lid to provide a good seal.
Vinegar
White vinegar is great to have on hand when working with epoxy. You really don’t want to get epoxy on your skin. Too much exposure can result in a reaction when working with epoxy in the future. Regardless of how careful you might be with PPE, somehow you will manage getting epoxy where you don’t want it (especially working upside-down in a confined space) . If the epoxy is still wet, vinegar is much nicer on the skin than acetone for cleanup. Acetone will get into your blood stream from contact with skin.
Peel ply
It really does save you a lot of sanding if applied over your final layer you plan to layup before letting it cure. It removes excess resin and leaves a textured surface ready to layup more layers or gelcoat. Also it removes the surface blush when working with epoxy which would otherwise need to be scrubbed off.
I know some of these new tips really helped me in my workflow when working with resins and I always look forward to chatting with the old salts who have such a wealth of knowledge tucked away. Keep your ears open in the work yard for your next revelation.
Cory Bertrand
Cory and Alex share their adventure with weekly videos on their YouTube channel “Wildly Intrepid Sailing”. Their dream is to travel the world and to live without any regrets.